


This version is outdated by a newer approved version. This version (09 Oct 2020 23:20) was approved by Brandon Bushey.The Previously approved version (24 Jan 2020 22:29) is available.
This version (09 Oct 2020 23:20) was approved by Brandon Bushey.The Previously approved version (24 Jan 2020 22:29) is available.This is an old revision of the document!
Table of Contents
Formatting and Flashing SD Cards using Windows
This page will explain how you should go about formatting and flashing the SD card with the software required to use many of platforms Analog Devices supports. There are several steps that need to be completed before your SD Card will be ready to use.
- Download the compressed software image file
- Extract the image file
- Verify the image file (optional)
- Format the SD Card
- Flash the SD Card
Download the SD Card File
Download the software image file you want to write onto your SD Card. Typically this is going to be the standard Analog Devices Kuiper Linux Image, but in some instances specialized pre-compiled images are created for projects that are not yet included on the standard image. So be sure you have the correct file.
Extract the Software Image File
Save the .zip file or .xz file to your local hard drive, and remember the file location.
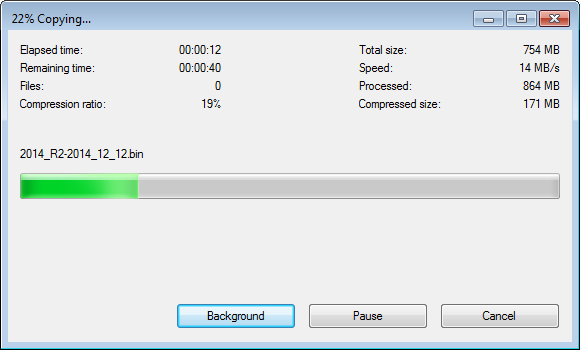
Extract the .zip file or .xz file to a destination folder using 7-Zip or other decompression application.
Format the SD Card
Make sure you have SD Card Formatter application installed on your Laptop/PC.
Open the SD Card Formatter application on your computer, and set the following fields:
- Select Card = SD Card drive you want to format (usually says “boot” or “volume”)
- Card Information = Make sure the disc size approximately matches your SD Card capacity
- Formatting Options = Select Quick Format

- Once set, click the Format button
- The program will notify you that the formatting is complete.(could take several seconds)


Flash the SD Card
There are several Windows applications that can flash SD Cards, we will describe how to do it using two common tools. Ensure you have at least one of the following tools installed on your computer.
If you are unsure, or don't understand these directions - STOP. If you are not careful, you will write a Zynq image to your PC hard drive. Your PC will not function properly after this, and your IT department should not blame me.
Win32DiskImager
- Open up the Win32DiskImager application on your PC

- Using the small folder button in the Image File section, navigate to the location of your software image file you want to flash and select it.

- Double check that the Device location in the upper-right corner, matches the SD Card drive location.
You DO NOT want to accidently re-image your hard drive, so this step is critical to ensure you are flashing the SD Card and not anything else.
- When you are ready to flash the SD Card, click on the “Write” button.
- Win32DiskImager will also alert you to make sure you want to write to this drive, acting as another failsafe so that you don't accidently image the wrong drive.

- Flashing the image to the SD Card typically take 10-15 minutes, but a progress bar is provided during the process. So grab yourself a coffee.
- “Write Successful” will appear when the program is finished, letting you know the SD Card is ready.

- Exit the Win32DiskImager program, and use the Windows “safely remove hardware” to eject the disk.


Etcher
- Connect an SD card reader with the SD card inside.
- Open balenaEtcher and select from your hard drive the .img or .zip file you want to write to the SD card.
- Select the SD card you want to write your image to.
- Review your selections and click 'Flash!' to begin writing data to the SD card.
- At this point the SD is still not bootable.
- go back to properly prepare the image.
Verify the Download (optional step)
- check the md5sum, to make sure you have the right file/didn't have download issues. There are a few md5sum applications for windows. Some have GUIs, some do not. Since the actual md5 value is operating system independent - check the Linux values above. They will be the only ones updated.
- Decompress:
- Check the m5dsum of the resulting file


End of Document
resources/tools-software/linux-software/zynq_images/windows_hosts.1602278427.txt.gz · Last modified: 09 Oct 2020 23:20 by Brandon Bushey