 This version (14 Jul 2020 17:11) was approved by Adrian Suciu.The Previously approved version (13 May 2020 11:35) is available.
This is an old revision of the document!
Download MSYS2 from here: MSYS2 Download
Follow the instructions on the page linked above to install it, and update it.
!!!Open the MINGW64 shell of MSYS. Other terminals will not work! Make sure all packages are up to date.
64-bit/32-bit
pacman -Syu
When it's done, you need to install a couple of packages (64-bit or 32-bit) to be able to be build Scopy:
64-bit
pacman -Syu --needed git tar cmake mingw-w64-x86_64-cmake mingw-w64-x86_64-make mingw-w64-x86_64-gcc mingw-w64-x86_64-ninja mingw-w64-x86_64-gdb
32-bit
pacman -Syu --needed git tar cmake mingw-w64-i686-cmake mingw-w64-i686-make mingw-w64-i686-gcc mingw-w64-i686-ninja mingw-w64-i686-gdb
First, make sure you are running the 64-bit shell (MingW64) of MSYS2. It won't work in any other shell.
cd ~
git clone https://github.com/analogdevicesinc/scopy.git
This will fetch the latest sources from GitHub to a “scopy” directory.
mkdir ~/scopy/build
cd ~/scopy/build
Scopy has many dependencies and various errors can occur when installing these manually.
To simplify things, we created two shell scripts: one to configure MSYS environment variables and one to download and install all the required components.
Run these as shown below.
source ../CI/appveyor/set_build_env_msys.sh
../install_msys_deps.sh
The first script configures the environment variables(MingW version, system architecture,compliers, CMake options).
If you are using 32-bit Windows, before you run the scripts, you need to edit the set_build_env_msys script to comply with your system architecture.
export ARCH=i686
export MINGW_VERSION=mingw32
cmake -GNinja $SCOPY_CMAKE_OPTS $CMAKE_OPTS ../
ninja
To run Scopy, it is required to first set a few environment variables.
To do that, click on the Start menu, search for 'environment'.
The option 'Edit environment variables for your account' should appear; click on it.
The following dialog will open:
You will need to create two environment variables: “PATH” and “SCOPY_PYTHONPATH”. First, let's add “PATH”:
Finally, add the “SCOPY_PYTHONPATH” variable:
Once those steps are done, the Scopy you built should run. With the file explorer, navigate to:
C:\\msys64\\home\\\<your_username\>\\scopy\\build
Double-click on scopy.exe.
To avoid using the MSYS terminal to rebuild the app, you can use QtCreator to build it.
First, you need to install it using an offline or an online installer from the official Qt Downloads page. In the installer,select only the QtCreator option. This way, only the creator will be installed. Other Qt Libraries needed we be uses from the MSYS folder. After you installed it, open it.
For the build to work, you need to configure a build kit to have the same compilers, Qt version and debugger you used when building from the MSYS terminal. To do this, open the configuration menu, as shown below and go to Kits.

In the compiler tab, configure the C and C++ compilers. They might not be automatically detected; you might need
to add them manually. Make sure that you select the correct compilers.
For C, this would be C:\msys64\mingw64\bin\x86_64-w64-mingw32-gcc.exe .
For C++: C:\msys64\mingw64\bin\x86_64-w64-mingw32-g++.exe .

Do the same for:
Qt Versions (C:\msys64\mingw64\bin\qmake.exe)
Debuggers (C:\msys64\mingw64\bin\gdb.exe)
CMake(C:\msys64\mingw64\bin\cmake.exe)
Make sure you have added each component from your msys/mingw64 folder.
Then go to Kits, click Add and configure your build kit with the options you just added.
Select Ninja as the Cmake generator.
Name your kit, then select the tools from the msys folder, as indicated above, then click OK.
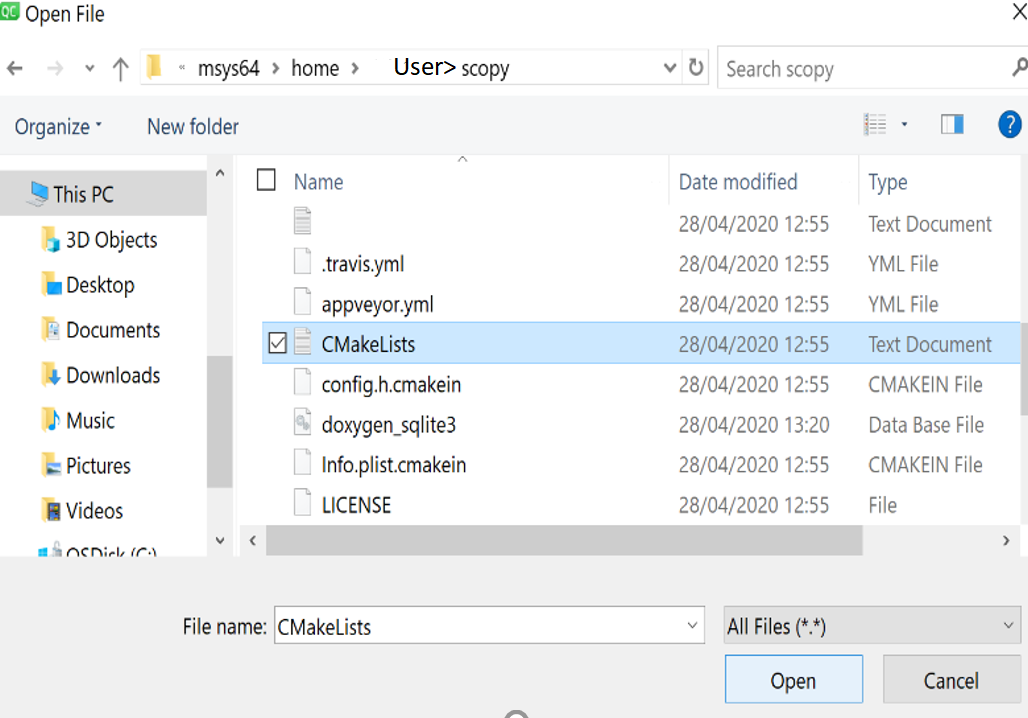
Now, to open Scopy as a project, click Open file or Project and open CMakeLists.txt.

Select the new build kit and click Configure Project.

Now just click Build and Run and QtCreator will handle the rest.
In case Cmake will throw an error when you first try to build the project, you will need to edit the Cmake Configuration.
To do this go to Tools>Options again and select your kit. The last option in the configuration list is the CMakeConfiguration.
Click Change and add the path to your Cmake as indicated below. At the third line, add a “;” and then the full path (for example: C:\msys64\mingw64\lib\cmake).

Return to Scopy Main Page